
- Go to Data Sources and click Create New Data Source.
- Choose XML, CSV, FTP or JSON.
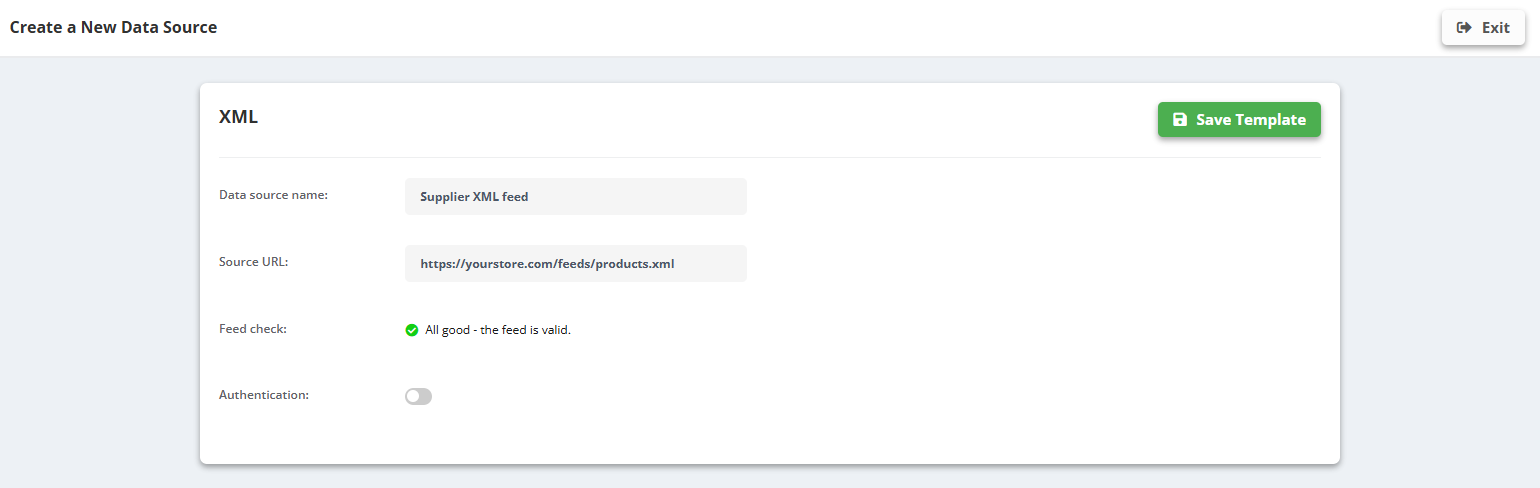
- Enter a Data source name and the Source URL (for FTP: host, path and login).
- XML (also an XML file on FTP): nothing to click - the feed is checked as soon as you enter the URL, and the element that wraps one product is found automatically. Feed check shows “All good - the feed is valid.” If the system is not sure, it says why and a dropdown lets you pick the product element yourself (for example
itemorproduct). - CSV: leave Encoding on “Automatically detect” unless the preview shows broken characters - then pick the right one (UTF-8, UTF-16, ISO-8859-1, Windows-1250/1251/1252/1254…).
- If the file is password-protected, switch Authentication on and enter the Username and Password.
- Click Save Template. The first sync runs and the products appear in the Products tab.
After the first sync
- Schedule - set how often the file is re-read (every hour up to every 12 hours, or once a day).
- Sync history - every run with its result; the place to look when a product count changes unexpectedly.
The file must be reachable from the internet. Local files and links behind a login page (not HTTP authentication) will not sync.